OXID eShop is an established, scalable and user-friendly e-commerce product designed to help merchants quickly and efficiently enter the world of online retail. At the end of 2008, OXID eSales AG, the developers of the product, launched an open source version of their product under the GNU General Public License. The open source product OXID eShop version is free for merchants to download, install, use and customize to their e-commerce requirements.
In particular, OXID eShop comes with an integrated module interface that allows PHP developers to adapt the product to any customer needs. This article explains the fundamental principles of OXID module development and provides a live example of using a custom module to tweak the eShop’s content management system.
Installing the Software
OXID eShop installation is a relatively simple, six-step process, thanks to the automated installation wizard:
- Check system requirements (see Figure 1).
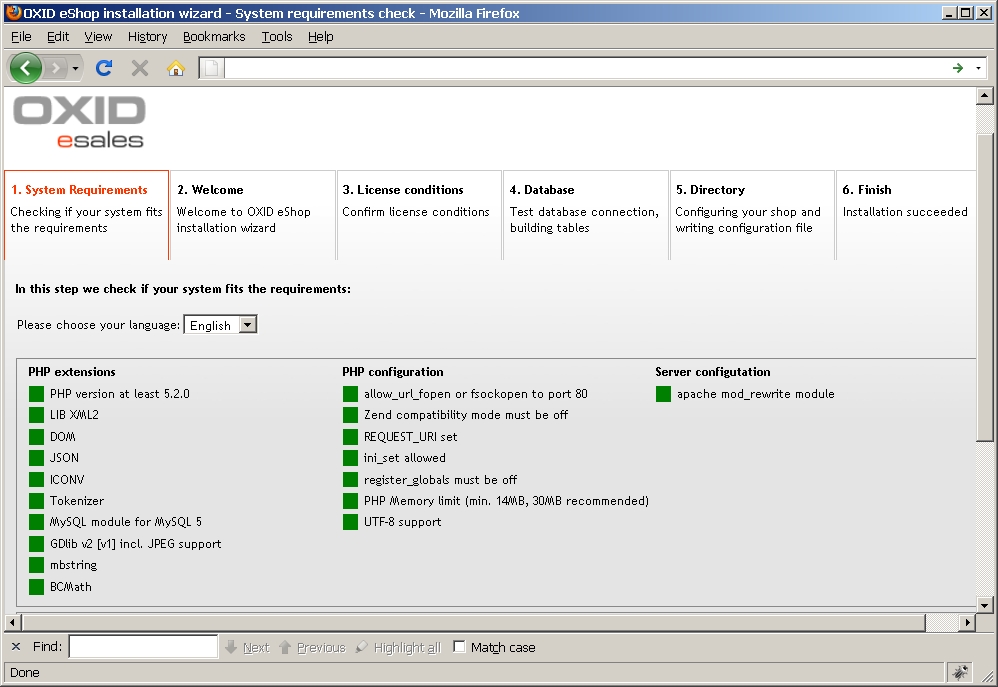
Click here for larger image
Figure 1. OXID eShop Installation Wizard: Checking System Requirements - Select the default language for the install menus, as well as your location (see Figure 2).
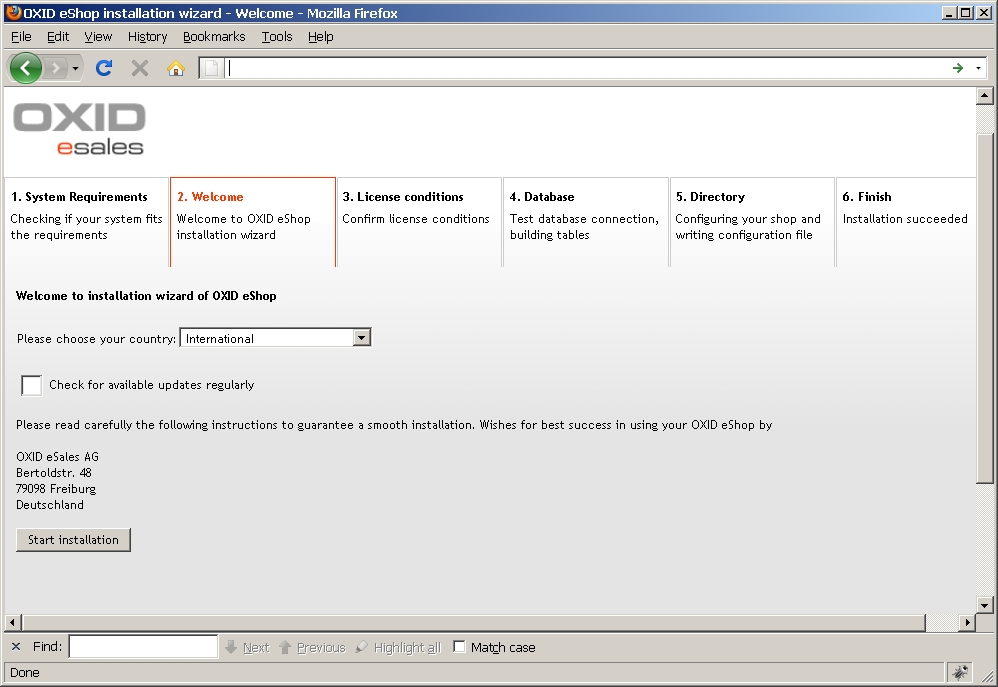
Click here for larger image
Figure 2. OXID eShop Installation Wizard: Selecting Default Language - Accept the license agreements.
- Enter the database user credentials (see Figure 3).
- Check and adjust the installation paths as necessary (see Figure 4).
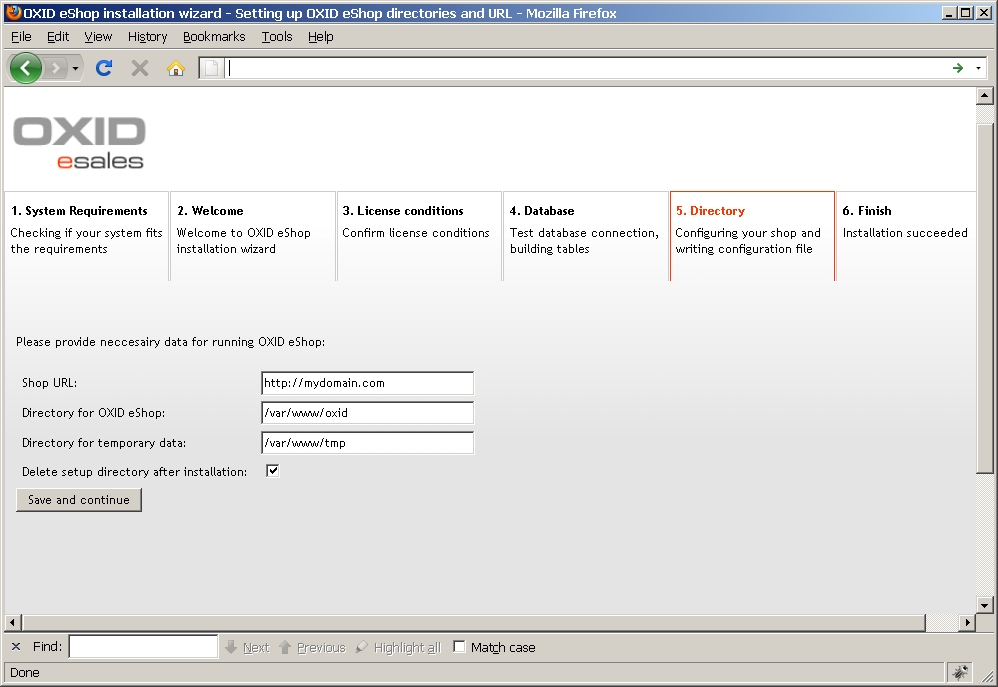
Click here for larger image
Figure 4. OXID eShop Installation Wizard: Setting Installation Paths - Confirm the successful installation of the product.

Click here for larger image
Figure 3. OXID eShop Installation Wizard: Setting Up the Database
After checking that your system meets the necessary requirements (outlined in Sidebar 1. OXID eShop System Requirements), download the latest version of OXID eShop CE from the OXID eSales web site. (This article uses OXID eShop CE v4.0.0.2.)
Decompress the installation code archive and move the contents to a directory that is accessible via a web browser (e.g.,
Decompress the installation code archive and move the contents to a directory that is accessible via a web browser (e.g.,
/oxid/). Then, create a MySQL database and prepare the user credentials (see Figure 3). Open the directory you created through a web browser (e.g., http://localhost/oxid/). The installation wizard should pop up.
If necessary, you can change your location retrospectively in the administration area by following the path: Master Settings -> Core Settings -> System.
After accepting the license agreement in Step 3, continue to Step 4 and enter the database user credentials.
In Step 5, check and adjust the installation paths as needed.
Step 6 confirms the successful installation of the product. Clicking the links that appear on the confirmation page will allow you to access the shop and administration areas. Note that the credentials for the administration area are set by default to admin / admin; you can modify these in the administration area by following the path: Master Settings -> Core Settings -> System.
All the options in the administration area of OXID eShop are beyond the scope of this article. In most cases, clicking the Start Help link at the bottom of the administration page will provide any assistance you may need.
The following options are of particular importance in OXID module development:
Master Settings -> Core Settings -> Main -> Productive Mode
You should not enable the Productive Mode setting while developing and testing modules. When enabled, this setting activates many additional caching mechanisms, which may interfere with testing and debugging. When your eShop goes live, however, activating this mode will improve performance.
Master Settings -> Core Settings -> Perform
This option allows individual features and functions of the shop to be turned off when not needed, releasing resources.
Understanding Program Architecture
Before you start programming your first module, it’s worthwhile to learn the architecture of the OXID platform.
MVC Implementation
OXID eShop was developed using PHP5 object-oriented techniques. It makes good use of getter and setter methods. This means that object attributes are generally not directly accessible and must be addressed via
get() or set() methods.
Rather than using an established third-party framework (e.g., Zend Framework), the OXID eShop uses its own established, MVC-compliant framework. View classes are located in the
/oxid/views directory and corresponding model classes in the /oxid/core directory. You can overload both class groups as modules, which allows nearly unlimited possibilities for extension and modification. You can review the API documentation to obtain a better understanding of the class structures.
Templates
The OXID eShop uses the Smarty template engine. The templates associated with each view are located in the directory
/oxid/out/basic/tpl (front-end) and /oxid/out/admin/tpl (back-end). They are pure HTML files, where you can embed content with so-called “Smarty-Tags.” Therefore, you can perform limitless visual customizations, provided you inherit the respective Smarty-Tags accurately.
Module Interface
As mentioned earlier, you can overload almost all view and core classes as modules. In order to do that, you must define a new class by extending an existing class and save the resulting class definition file within the
/oxid/modules directory. You must register this module in the administration area, so that the system knows to factor in the new module (if necessary) when instantiating a new object.
The following section examines this in more detail.
Customizing the OXID Database
In the administration area (Customer Info -> CMS Pages), you will find a small content management system (CMS) that allows you to integrate individual content components, either as complete pages or snippets, into the eShop front-end. However, the CMS doesn’t currently allow main menu items to have sub-menus. (The following section demonstrates how OXID’s extensible API makes it extremely easy to add this (and other) functions.)
In order to assign individual CMS entries in a parent relationship to each other, you need an additional field in the
oxcontents table. You can do this either via phpMyAdmin or with the following SQL command:
ALTER TABLE 'oxcontents' ADD 'MY_PARENTIDENT' VARCHAR( 32 ) NOT NULL;
The new field is meant to inherit the
OXLOADID of the parent element, provided the element is a child element. In order to do so, the newly created field must be editable by the eShop administrator. This requires an adjustment to the template content_main.tpl, as follows (bold lines indicate additions):
     <tr>
                  <td class="edittext">
                  [{ oxmultilang ident="GENERAL_IDENT" }].
                  </td>
                  <td class="edittext">
                  <input type="text" class="editinput" size="28"
                  maxlength="[{$edit->oxcontents__oxloadid->fldmax_length}]"
                  name="editval[oxcontents__oxloadid]"
                  value="[{$edit->oxcontents__oxloadid->value}]" [{ $readonly }]>
                  [{ oxinputhelp ident="HELP_GENERAL_IDENT" }]
                  </td>
                </tr>
      <tr>
        <td class="edittext">parent ident</td>
         <td class="edittext">
         <input type="text" class="editinput" size="28"
   maxlength="[{$edit->oxcontents__my_parentident->fldmax_length}]"
   name="editval[oxcontents__my_parentident]"
   value="[{$edit->oxcontents__my_parentident->value}]" [{ $readonly }]>
          </td>
      </tr>
Figure 5 shows what the result looks like.
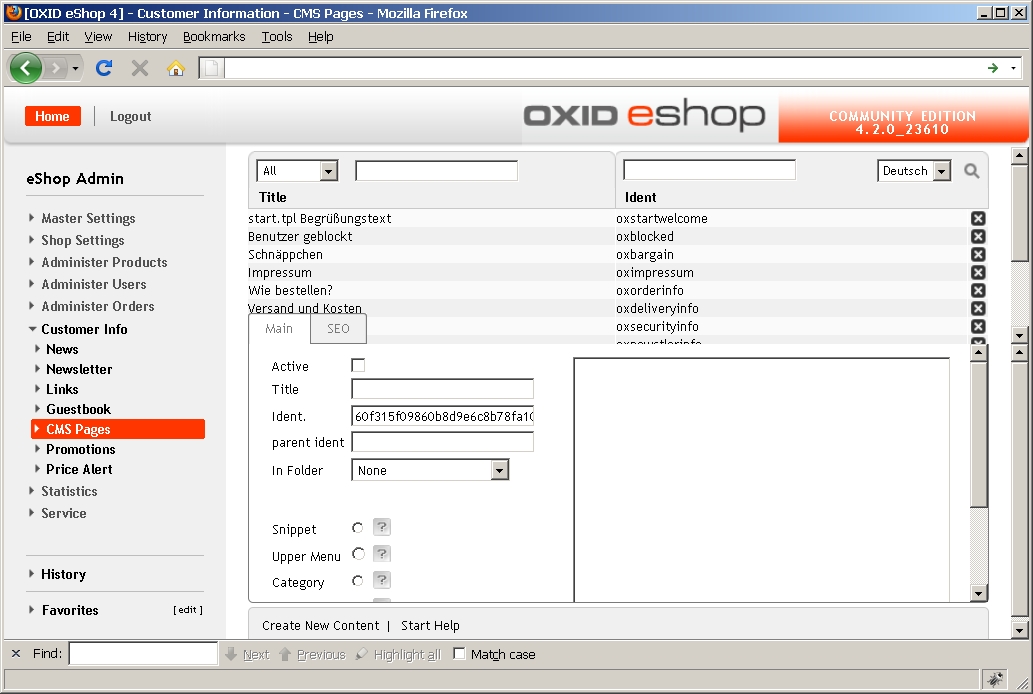
Click here for larger image
Figure 5. OXID eShop Administration: The Updated CMS Form with Parent-Child Linking Field
As you can see in the above example, extending tables and maintaining and using your own table fields is very easy, so long as you abide by the standard naming convention for object structures in templates:
object name]->[table name]__[field name]->value
After these changes, you should empty the
/oxid/tmp directory, as object structures are cached there.
Before proceeding, create two new CMS components (Test 1 and Test 1.1, where the latter is the child of the former) and define them as main menu components (Customer Info -> CMS Pages -> Create New Content). Manually insert the value
test_1 as the unique identifier (OXLOADID) for the first CMS component. The second CMS component then inherits the identifier of the first component (test_1) as its MY_PARENTIDENT value.