This is the default set of users that can use the DCOM/COM interfaces to the system. You will need to
add the “IIS Anonymous User” which allows PHP to actually begin using the
DCOM/COM interface. Select Add from the Launch Permissions box and then the Advanced button.
You should see a dialog box which looks like below:
add the “IIS Anonymous User” which allows PHP to actually begin using the
DCOM/COM interface. Select Add from the Launch Permissions box and then the Advanced button.
You should see a dialog box which looks like below:
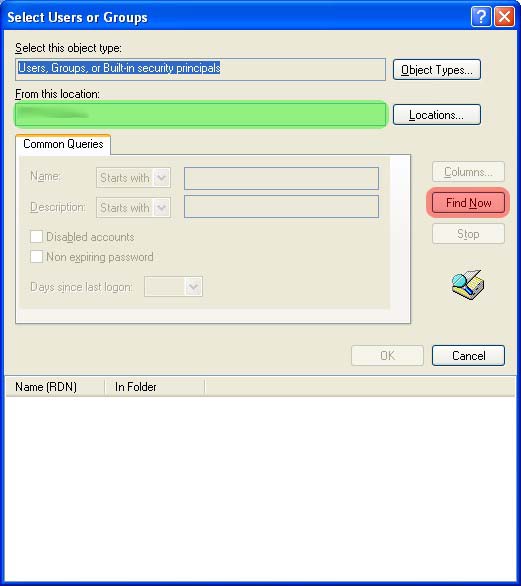
Making sure that the local machine is selected in the location tab (area in green),
click on the Find now button(highlighted in red). You will see the dialog box populate as
below. Select the
IUSR_MACHINE_NAME name and press ok.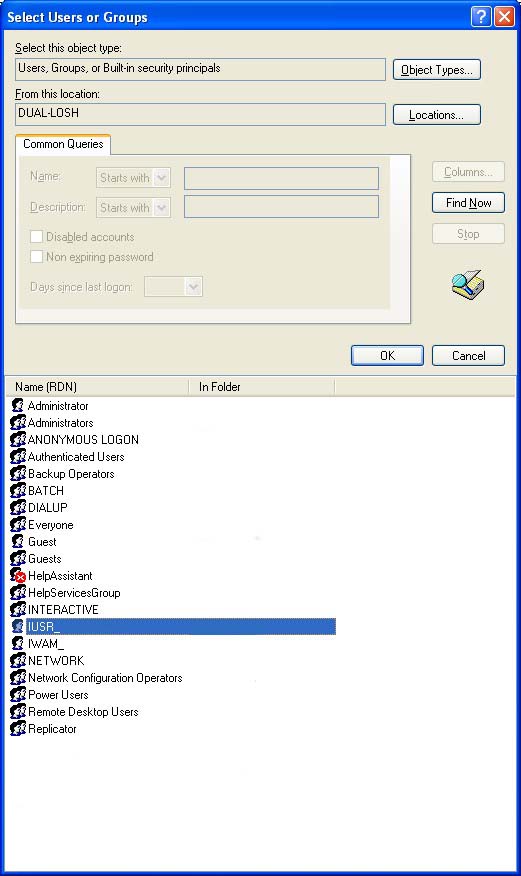
The add user dialog should now look as below:
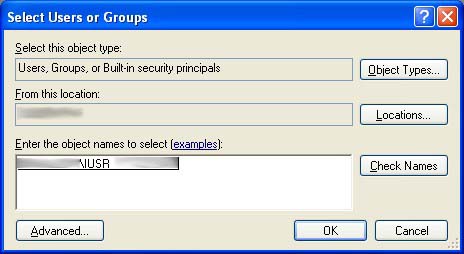
Select ok to this and then again ok to close launch permissions. Finally, select ok to close the
permissions tab for the computer.
permissions tab for the computer.


