Click here for larger image
Figure 1. The MVC Architecture
Create a Demo Application with Symfony
Install Latest Symfony Release
- Download the latest stable version archive (1.4) to your computer.
- Unzip the archive in your favorite location (this example uses the {C:demo} folder), and rename it symfony.
- Navigate to the Symfony installation location, create the libvendor project directory, and move the unzipped archive symfony there.
Generating an Empty Symfony Project
generate:project task. Open a MS-DOS command prompt (for Windows), navigate through the symfony folder path, and execute this command:
on Windows:
c:demo> php libvendorsymfonydatabinsymfony generate:project --orm=Propel bookshop

on Linux:
$ php libvendorsymfonydatabinsymfony generate:project --orm=Propel bookshop
This task generates the structure of directories and files in Table 1 under /demo folder. These directories are all necessary for any Symfony project (this is an empty project).
| Table 1. Required Directories for a Symfony Project |
| Directory | Description |
|---|---|
apps/ |
Hosts all project applications |
cache/ |
The files cached by the framework |
config/ |
The project configuration files |
lib/ |
The project libraries and classes |
log/ |
The framework log files |
plugins/ |
The installed plugins |
test/ |
The unit and functional test files |
web/ |
The web root directory |
Note: The
generate:projecttask has created asymfonyshortcut in the bookshop project root directory to simplify the path you have to write when running a task.
Note: Symfony can provide object-relational mapping by using Doctrine ORM or Propel ORM. By default, Symfony uses Doctrine, but you also may use Propel if you create the project by inserting the??orm=Propeloption in the creation command.
Generate the Frontend Application
generate:app task like this:
on Windows
c:demo> php symfony generate:app frontend

on Linux
$ php symfony generate:app frontend
generate:app task creates the default directory structure needed for the application under the apps/frontend directory (see Table 2).
| Table 2. Default Directory Structure Needed for an Application |
| Directory | Description |
|---|---|
config/ |
The application configuration files |
lib/ |
The application libraries and classes |
modules/ |
The application code (MVC) |
templates/ |
The global template files |
Configure the Apache Server
httpd.conf file by adding in the following lines (at the end):
on Windows
# This is the configuration for your project
Listen 127.0.0.1:80

<VirtualHost 127.0.0.1:80>
  DocumentRoot "C:demoweb"
  DirectoryIndex index.php
  <Directory "C:demoweb">
    AllowOverride All
    Allow from All
  </Directory>

  Alias /sf "C:demolibvendorsymfonydatawebsf"
  <Directory "C:demolibvendorsymfonydatawebsf">
    AllowOverride All
    Allow from All
  </Directory>
</VirtualHost>

on Linux
# This is the configuration for your project
Listen 127.0.0.1:80

<VirtualHost 127.0.0.1:80>
  DocumentRoot "/home/sfprojects/demo/web"
  DirectoryIndex index.php
  <Directory "/home/sfprojects/demo/web">
    AllowOverride All
    Allow from All
  </Directory>

  Alias /sf "/home/sfprojects/demo/lib/vendor/symfony/data/web/sf"
  <Directory "/home/sfprojects/demo/lib/vendor/symfony/data/web/sf">
    AllowOverride All
    Allow from All
  </Directory>
</VirtualHost>
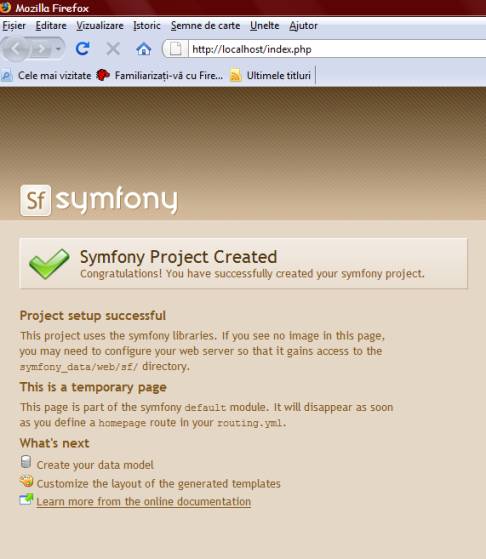
Click here for larger image
Figure 2. The First Created Project Using Symfony
http://localhost/frontend_dev.php/
The web debug toolbar should show on the top right corner, including small icons proving that your sf/ alias configuration is correct (see Figure 3).
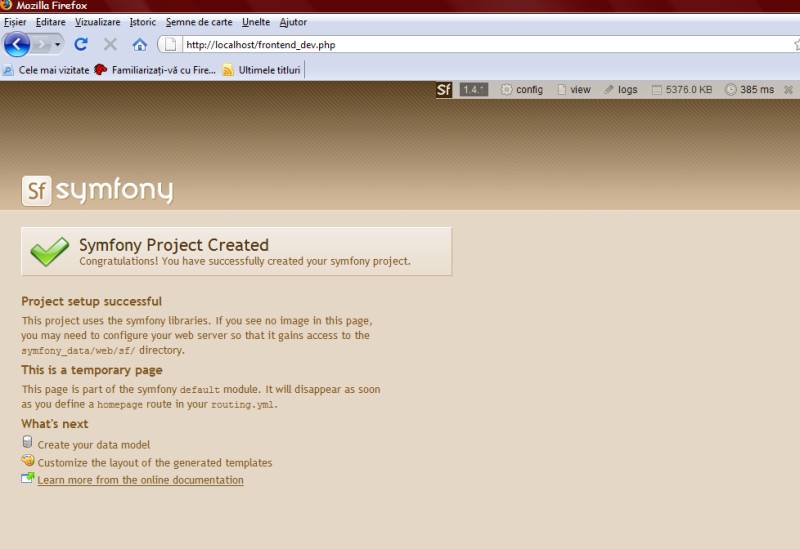
Click here for larger image
Figure 3. The Page in Figure 2 Including the Web Debug Toolbar
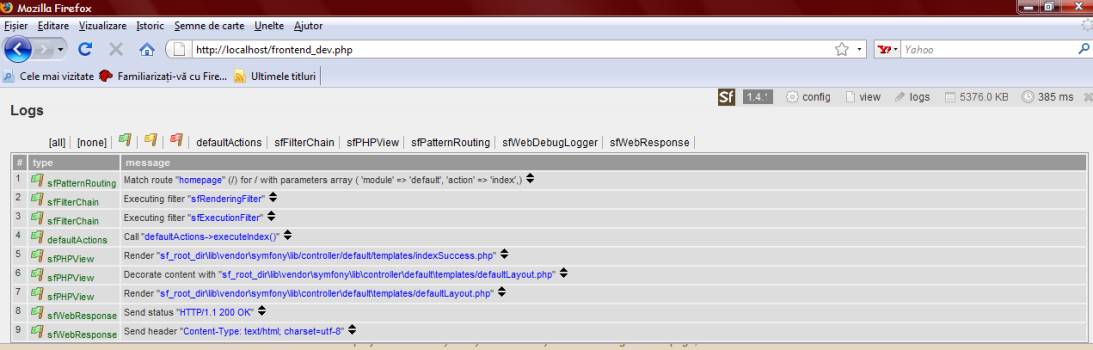
Click here for larger image
Figure 4. The Logs for Current Request
Note: At any given moment, a Symfony project is in one of the following environments:
- Development environment: for programmers to develop the application;
- Test environment: for automatically testing the application;
- Staging environment: for client to test and report bugs;
- Production environment: the end user’s environment.
Download: SymfanyBookshopDemo.zip


