So-called microframeworks such as Sinatra and Camping were created to provide developers with a lightweight alternative to Rails. If your requirements are relatively straightforward, these lightweight solutions can dramatically reduce the learning curve and time required to complete the project. The PHP Limonade framework was created with this goal in mind, providing PHP developers with a low barrier-of-entry to the world of framework driven development without incurring lengthy training overhead.
In this article I’ll introduce you to Limonade, highlighting its key features by building a simple exercise diary (incidentally, this Limonade introduction is the latest installment of my ongoing review of lightweight PHP frameworks see Fat-Free, DooPHP, and my top ten list of lightweight frameworks).
Making Limonade
To install Limonade, download the latest stable version from its GitHub repository. Unzip the contents and move the
lib directory into your Web project’s home directory. Next, create a file named index.php and add the following contents to it:
<?php
require_once 'lib/limonade.php';
// Application code goes here
run();
Next, create an
.htaccess file which will route all requests to a file named index.php:
<IfModule mod_rewrite.c>
  Options +FollowSymlinks
  Options +Indexes
  RewriteEngine on
  # RewriteBase /path/ # If website in subdirectory, uncomment and change this
  RewriteCond %{SCRIPT_FILENAME} !-f
  RewriteCond %{SCRIPT_FILENAME} !-d
  RewriteRule ^(.*)$   index.php?/$1    [NC,L]
</IfModule>
Believe it or not you’re ready to start using Limonade!
Creating Your First Route
Limonade users create a Web site by defining a set of custom routes, mapping each route to an associated method. Custom routes are defined using Limonade’s
dispatch() method, which you’ll use to identify each end point and its associated method. For instance, the following dispatch() call ties a method named welcome() to the website’s home page:
dispatch('/', 'welcome');
With the route defined, you’ll next want to define the
welcome() method and within it, use Limonade’s html() method to identify a view (page template) associated with the page:
function welcome()
{
  return html('index.html.php');
}
Limonade will by default look for a directory named
views within your project home directory, so create that directory and within it, create a file named index.html.php, adding the following contents:
<html>
  <head>
    <title>Welcome to My Exercise Diary</title>
  </head>
  <body>
    <p>
    Return often to receive updates about the trials and tribulations
    surrounding raising my heart rate beyond 80bpm!
    </p>
  </body>
</html>
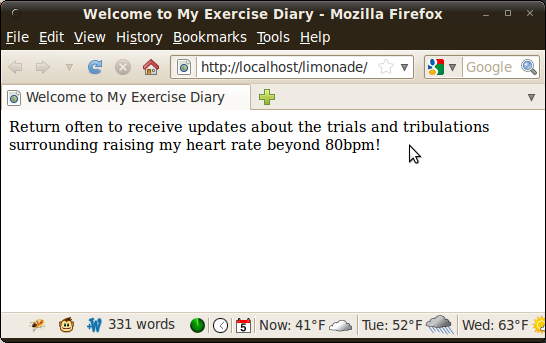
Now open up your browser and head over to the website’s home page, and you’ll see the contents of the view file rendered to the window, as shown in Figure 1.
Click here for larger image
Figure 1. A Limonade-powered Homepage
From here you can begin building out the rest of your website’s end points, adding a
dispatch() call and associated method for each. For instance, a route definition pointing to /about would look like this:
dispatch('/about', 'about');
function about()
{
  return html('about.html.php');
}
Using a Layout
While it’s possible to use Limonade to create a series of static pages, doing so would defeat the purpose of embracing a framework. Limonade offers a great many ways to reduce the amount of redundant code you’ll need to write, starting notably with the website layout template. If you were to create multiple pages using the same approach as that demonstrated for creating the home page, then updating something as simple as the website’s title (nestled between the
title tags) would be quite a chore. Fortunately, you can eliminate the redundancy by using Limonade’s layout feature. Let’s explore this feature by modifying your welcome() method call to look like this:
function welcome()
{
  return html('index.html.php', 'layout.html.php');
}
The
layout.html.php file contains the global template which the associated view is injected into with each request. The injection occurs where the global template outputs the $content variable, as demonstrated here:
<html>
  <head>
    <title>Welcome to My Exercise Diary</title>
  </head>
  <body>
    <?php echo $content; ?>
  </body>
</html>
Next, strip the template-related tags from the
index.html.php view, leaving only the introductory paragraph:
<p>
Return often to receive updates about the trials and tribulations
surrounding raising my heart rate beyond 80bpm!
</p>
Finally reload the page and you’ll see that the view has been injected into the layout!


