Smarty is a template engine for PHP whose main goal is to facilitate a very useful way to separate the business logic from the presentation logic. This article introduces Smarty and demonstrates how to install the template, create an application from scratch and interact with a database.
Installing the Smarty Template Engine
The Smarty template engine can be downloaded from the official website. At this site you will also find complete documentation that will help you to learn more about working with Smarty templates.
To install and use Smarty you should go through the following steps:
- Unzip the Smarty archive to the proper directory. I put the Smarty library into the
D:/Apache2.2/htdocs/php/path. You should see the structure below in the Smarty directory.
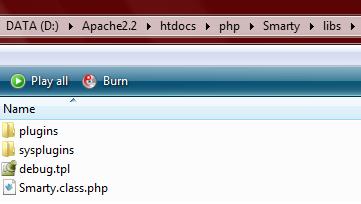
Click here for larger image
Figure 1. The Structure of Smarty/libs Folder - Now, to test if Smarty is correctly installed, you should put the code below into the index.php script. As you can see from the listing below, before checking if all the required working folders can be accessed (using the
testInstall()method) , you should create a new Smarty variable:<?php //Put full path to Smarty.class.php require('D:/Apache2.2/htdocs/php/Smarty/libs/Smarty.class.php'); //Create new variable $smarty from the class Smarty $smarty = new Smarty(); //Verifies that all required working folders of the Smarty installation can //be accessed $smarty->testInstall(); ?> - To see the output of the test, write http://localhost/php/Smarty/demo/index.php into the browser. You should get something like this:
Smarty Installation test...
Testing template directory...
.templates is OK.
Testing compile directory...
.templates_c is OK.
Testing plugins directory...
D:Apache2.2htdocsphpSmartylibsplugins is OK.
Testing cache directory...
.cache is OK.
Testing configs directory...
.configs is OK.
Tests complete.
Creating a New Simple Smarty Application
In this section you will see how to create your own “Hello World” application. To do that, you should first create a new folder (I named it Smarty_example) in the D:/Apache2.2/htdocs/php/ directory, set the template directory for use with different templates (as you will see below in the index.php script), assign a variable (in this case, name) and then compile and display the template file, index.tpl.
<?php

//Put the full path to Smarty.class.php
require('D:/Apache2.2/htdocs/php/Smarty/libs/Smarty.class.php');

//Create new variable $smarty from the class Smarty
$smarty = new Smarty();

//Set the template directory used for different templates
$smarty->setTemplateDir('/ Smarty_example /templates');
//Set the compile directory
$smarty->setCompileDir('/ Smarty_example /templates_c');
//Set the cache directory
$smarty->setCacheDir('/ Smarty_example /cache');
//Set the configs directory
$smarty->setConfigDir('/ Smarty_example /configs');

//Set the name variable variables
$smarty->assign('name', 'WORLD');

//Compile and display output of the template file
$smarty->display('index.tpl');

?>
The template file, index.tpl, looks like this:
<html>
  <head>
    <title>Smarty</title>
  </head>
  <body>
    Hello, {$name}!
  </body>
</html>
The output of the “Hello World” application is:
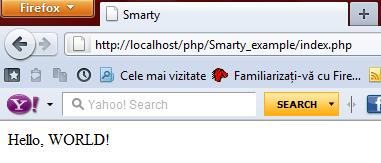
Click here for larger image
Figure 2. The Output of the First Simple Application “Hello World”